Table of Contents
Introduction to Gluten-Free Sourdough
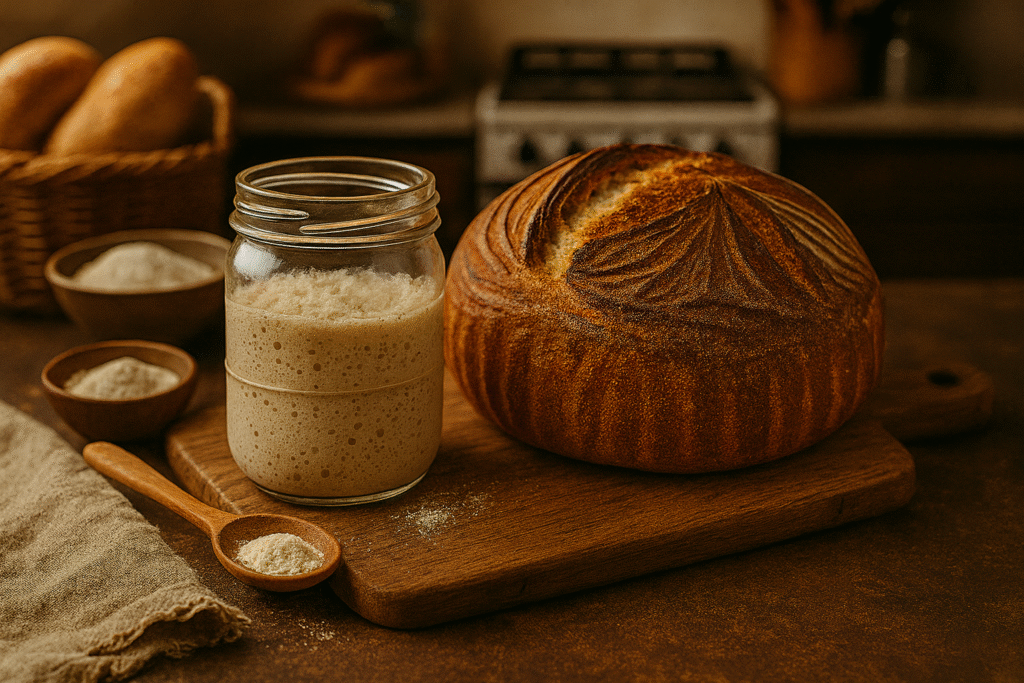
Gluten-free sourdough is an alternative bread-making method tailored for individuals with gluten intolerance, celiac disease, or those simply preferring to avoid gluten. Traditional sourdough utilizes wheat flour as a primary ingredient, which contains gluten—a protein that can trigger adverse reactions in susceptible individuals. By opting for gluten-free ingredients such as rice flour, buckwheat flour, or almond flour, one can create a delicious and nutritious sourdough that aligns with dietary needs while not compromising on taste or texture.
The benefits of making a gluten-free sourdough starter at home are multifaceted. Firstly, gluten-free sourdough is often easier to digest than conventional bread due to the fermentation process. This fermentation breaks down some of the starches and sugars, making them more manageable for the digestive system. Additionally, variations in ingredients allow for customizable flavors. Experimenting with different gluten-free flours opens a world of taste possibilities—ranging from the nutty notes of almond flour to the earthy undertones of buckwheat.
Moreover, the process of creating a gluten-free sourdough starter from scratch offers a sense of satisfaction and accomplishment. Many home bakers find joy in the transformative process of nurturing a starter and utilizing it for various baking projects. This hands-on experience allows individuals to connect with their food, promoting a deeper understanding of baking concepts and the science behind fermentation. As a result, one can enjoy the flavors of freshly baked bread without the fear of gluten-related health issues, establishing a bridge between dietary restrictions and culinary enjoyment.
Essential Ingredients and Tools
Creating a gluten-free sourdough starter from scratch requires a few essential ingredients and tools, each playing a significant role in the fermentation process. Understanding these components will ensure a successful outcome and lay the foundation for your gluten-free baking journey.
The primary ingredient needed is gluten-free flour. Various types of gluten-free flours can be used, including brown rice flour, almond flour, and sorghum flour. Brown rice flour is widely favored for its balanced nutritional profile and ability to create a robust starter due to its high starch content. Almond flour adds a rich flavor, although it can lead to a more heavy and dense starter. Sorghum flour, on the other hand, promotes a light and airy texture, making it another popular choice for sourdough starter formulations. When selecting your flour, consider mixing different types to combine the best characteristics of each.
Another crucial ingredient is water. Filtered or dechlorinated water is ideal, as chlorine can inhibit yeast and bacterial growth. The water temperature should be lukewarm, which encourages fermentation and the activation of wild yeasts. It is advisable to avoid bottled mineral water, as it may contain minerals that can interrupt the natural fermentation process.
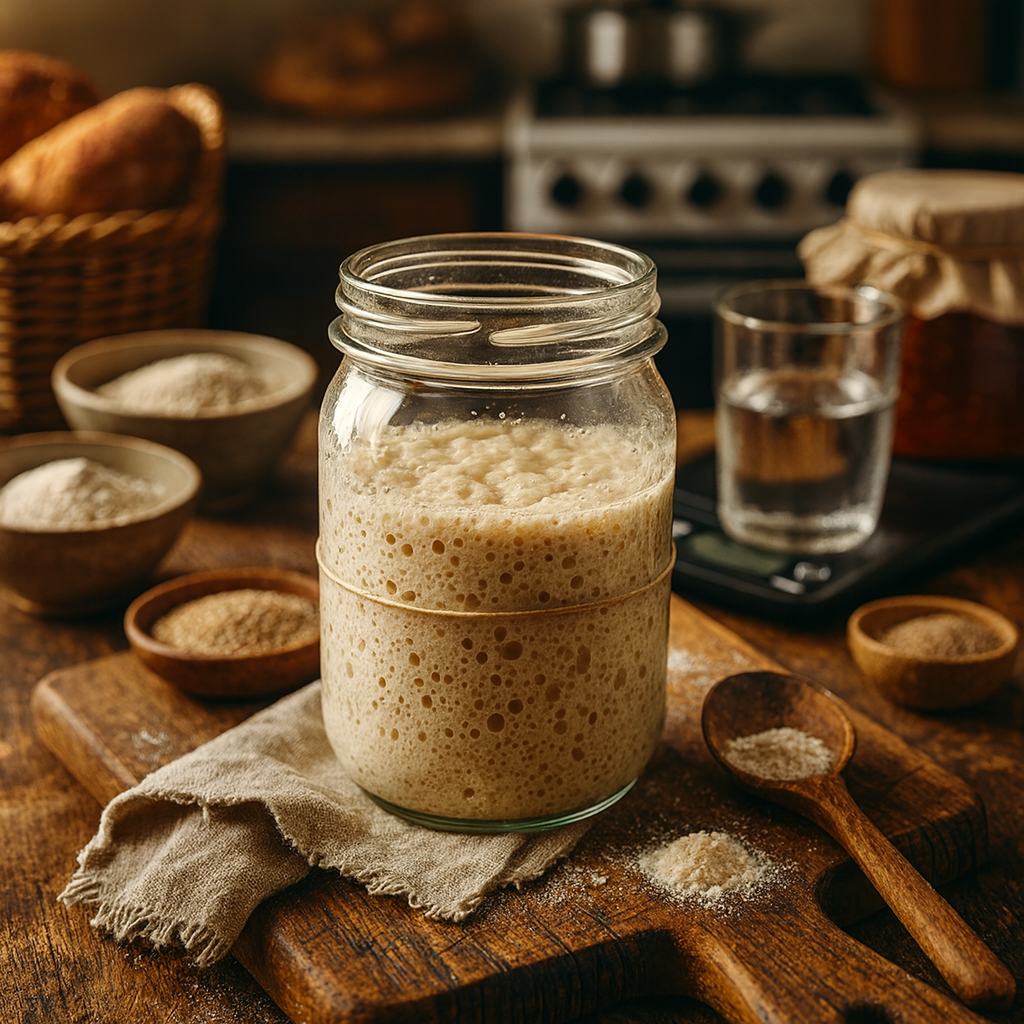
Additionally, specific tools are required to facilitate the creation and maintenance of your starter. A clean glass jar or container is necessary, providing an optimal environment for yeast activity. Furthermore, you will need a stirring implement, such as a wooden spoon or a spatula, to mix the ingredients thoroughly during the feeding process. A kitchen scale is also recommended, allowing for precise measurements that contribute to consistent results.
Each of these ingredients and tools is vital in establishing a thriving gluten-free sourdough starter. By gathering the proper materials, you will be well on your way to producing delicious gluten-free bread at home.
Step-by-Step Instructions to Create Your Starter
Creating a gluten-free sourdough starter from scratch is a straightforward process that requires time and patience. It generally spans about seven days, during which you will cultivate a mixture of gluten-free flour and water, allowing wild yeasts to thrive. Below are detailed, day-by-day instructions to guide you through the process.
Day 1: In a clean glass or plastic container, combine 100 grams of gluten-free flour (such as brown rice flour or sorghum flour) with 100 ml of lukewarm water. Stir well to incorporate all the flour, ensuring there are no dry patches. Cover the container loosely with a lid or a cloth to allow airflow while preventing contaminants from entering. Allow it to rest at room temperature for 24 hours.
Day 2: After the first day, you may observe some bubbles forming. Discard half of the mixture (approximately 100 grams) and add another 100 grams of gluten-free flour and 100 ml of lukewarm water. Stir until smooth and cover again. Allow it to rest for another 24 hours. This feeding process is crucial, as it refreshes the starter and enhances the microbial activity.
Day 3: By now, your starter should show more bubbles and a slight increase in volume. Repeat the discarding and feeding process from Day 2. However, you may want to switch to a 50% flour and 50% water ratio (100 grams of each) for a thicker consistency, which can help with fermentation. Cover and let rest for an additional 24 hours.
Day 4: Continue monitoring your starter; it should have a pleasant, slightly tangy aroma. Discard half of the starter and feed it with 100 grams of gluten-free flour and 100 ml of lukewarm water. Allow it to rest for 24 hours again. As the days progress, the starter will become more active and bubbly.
Day 5: By this point, your starter should be doubling in size within a few hours after feeding. Maintain the same feeding schedule as before, discarding half and replenishing with flour and water. Observe its growth; if it is still growing well, continue to Day 6.
Day 6: If your starter is vigorous, you may introduce a different gluten-free flour such as quinoa flour to enrich the starter further. Again, follow the same discarding and feeding method. Be attentive to the consistency, aiming for a thick, paste-like mixture.
Day 7: Your gluten-free sourdough starter should now be active, bubbly, and ready to use. It should have risen noticeably and displayed a pleasant, sour aroma. You can now proceed to use it in your gluten-free sourdough recipes. Remember to maintain the starter by regularly feeding it with flour and water.
Following these day-by-day instructions will help you achieve a successful gluten-free sourdough starter. Embrace each step, as they contribute to developing a robust starter for your baking endeavors.
Feeding Your Sourdough Starter
Maintaining a gluten-free sourdough starter requires understanding the feeding process, which is crucial for promoting its growth and ensuring its optimal activity. The feeding schedule primarily depends on whether the starter is stored at room temperature or in the refrigerator. A starter kept at room temperature should ideally be fed every 12 hours to maintain its vigor and yeast activity. Conversely, if the starter is refrigerated, feeding it once a week suffices, although it is advisable to bring it to room temperature and feed it a day before baking.
To feed your sourdough starter, you will begin by discarding a portion of the starter. Typically, this means removing about half of the mixture. This practice not only helps to manage the starter’s volume but also allows for the replenishment of nutrients, preventing the starter from becoming too acidic. After discarding, add equal parts gluten-free flour and water to the remaining starter. The common ratio is 1:1:1, meaning for every part of starter, you should use one part of flour and one part of water. It is essential to use a gluten-free flour blend that includes a variety of flours, such as rice flour, potato starch, or tapioca flour, to ensure a healthy mix.
After feeding, gently mix the ingredients together until well incorporated and transfer the starter to a clean container. Cover the starter loosely to allow airflow while preventing contaminants. Monitoring your starter’s activity is crucial; it should become bubbly and have a pleasant, tangy aroma. If you see these signs, your starter is preparing for baking. Additionally, the doubling in size after feeding indicates active fermentation and readiness to use. A healthy sourdough starter not only enhances baking but also becomes a reliable companion in your gluten-free baking journey.
Troubleshooting Common Issues
Creating a gluten-free sourdough starter is a rewarding process, yet it can present certain challenges. Understanding how to troubleshoot common issues can help ensure the viability of your starter. One of the most common problems is the lack of bubbles, which may indicate that the fermentation process has not yet begun. If you notice minimal activity, consider adjusting the temperature of your starter. Maintaining a consistently warm environment, ideally between 75°F to 85°F (24°C to 29°C), can encourage the growth of yeast and bacteria essential for fermentation.
Another issue to address is the presence of foul smells. A healthy gluten-free sourdough starter should emit a pleasant, tangy aroma. If you detect unpleasant odors, it could be a sign of contaminated ingredients or insufficient feeding. In such cases, discard a portion of your starter and replenish it with fresh gluten-free flour and water. Additionally, ensure that the container used for fermentation is clean to prevent the introduction of unwanted bacteria.
Mold formation is another potential concern when cultivating a sourdough starter. If you observe any mold on the surface, it is vital to discard the affected area and assess the starter’s overall health. The presence of mold usually indicates poor hygiene or an unfavorable environment. To prevent mold, always cover your starter loosely to allow airflow while keeping it protected from dust and contaminants. Regularly feeding your starter and using clean utensils can also minimize the risk of mold growth.
In conclusion, maintaining a viable gluten-free sourdough starter requires careful monitoring and troubleshooting. By being attentive to the signs of fermentation, ensuring cleanliness, and providing the right environment, you can address common issues effectively. This diligence will help in successfully making a robust gluten-free sourdough starter from scratch.
Using Your Gluten-Free Sourdough Starter
Once you have successfully created your gluten-free sourdough starter, the next step is to learn how to utilize it in various recipes. Its unique fermentation properties allow it to be incorporated into a range of baked goods, providing both flavor and texture to gluten-free alternatives. When beginning with your gluten-free starter, precise measurement is crucial. A typical ratio for bread recipes is one cup of starter to two cups of gluten-free flour and one cup of liquid, such as water or milk. This ensures a well-balanced consistency, allowing for proper fermentation and rise.
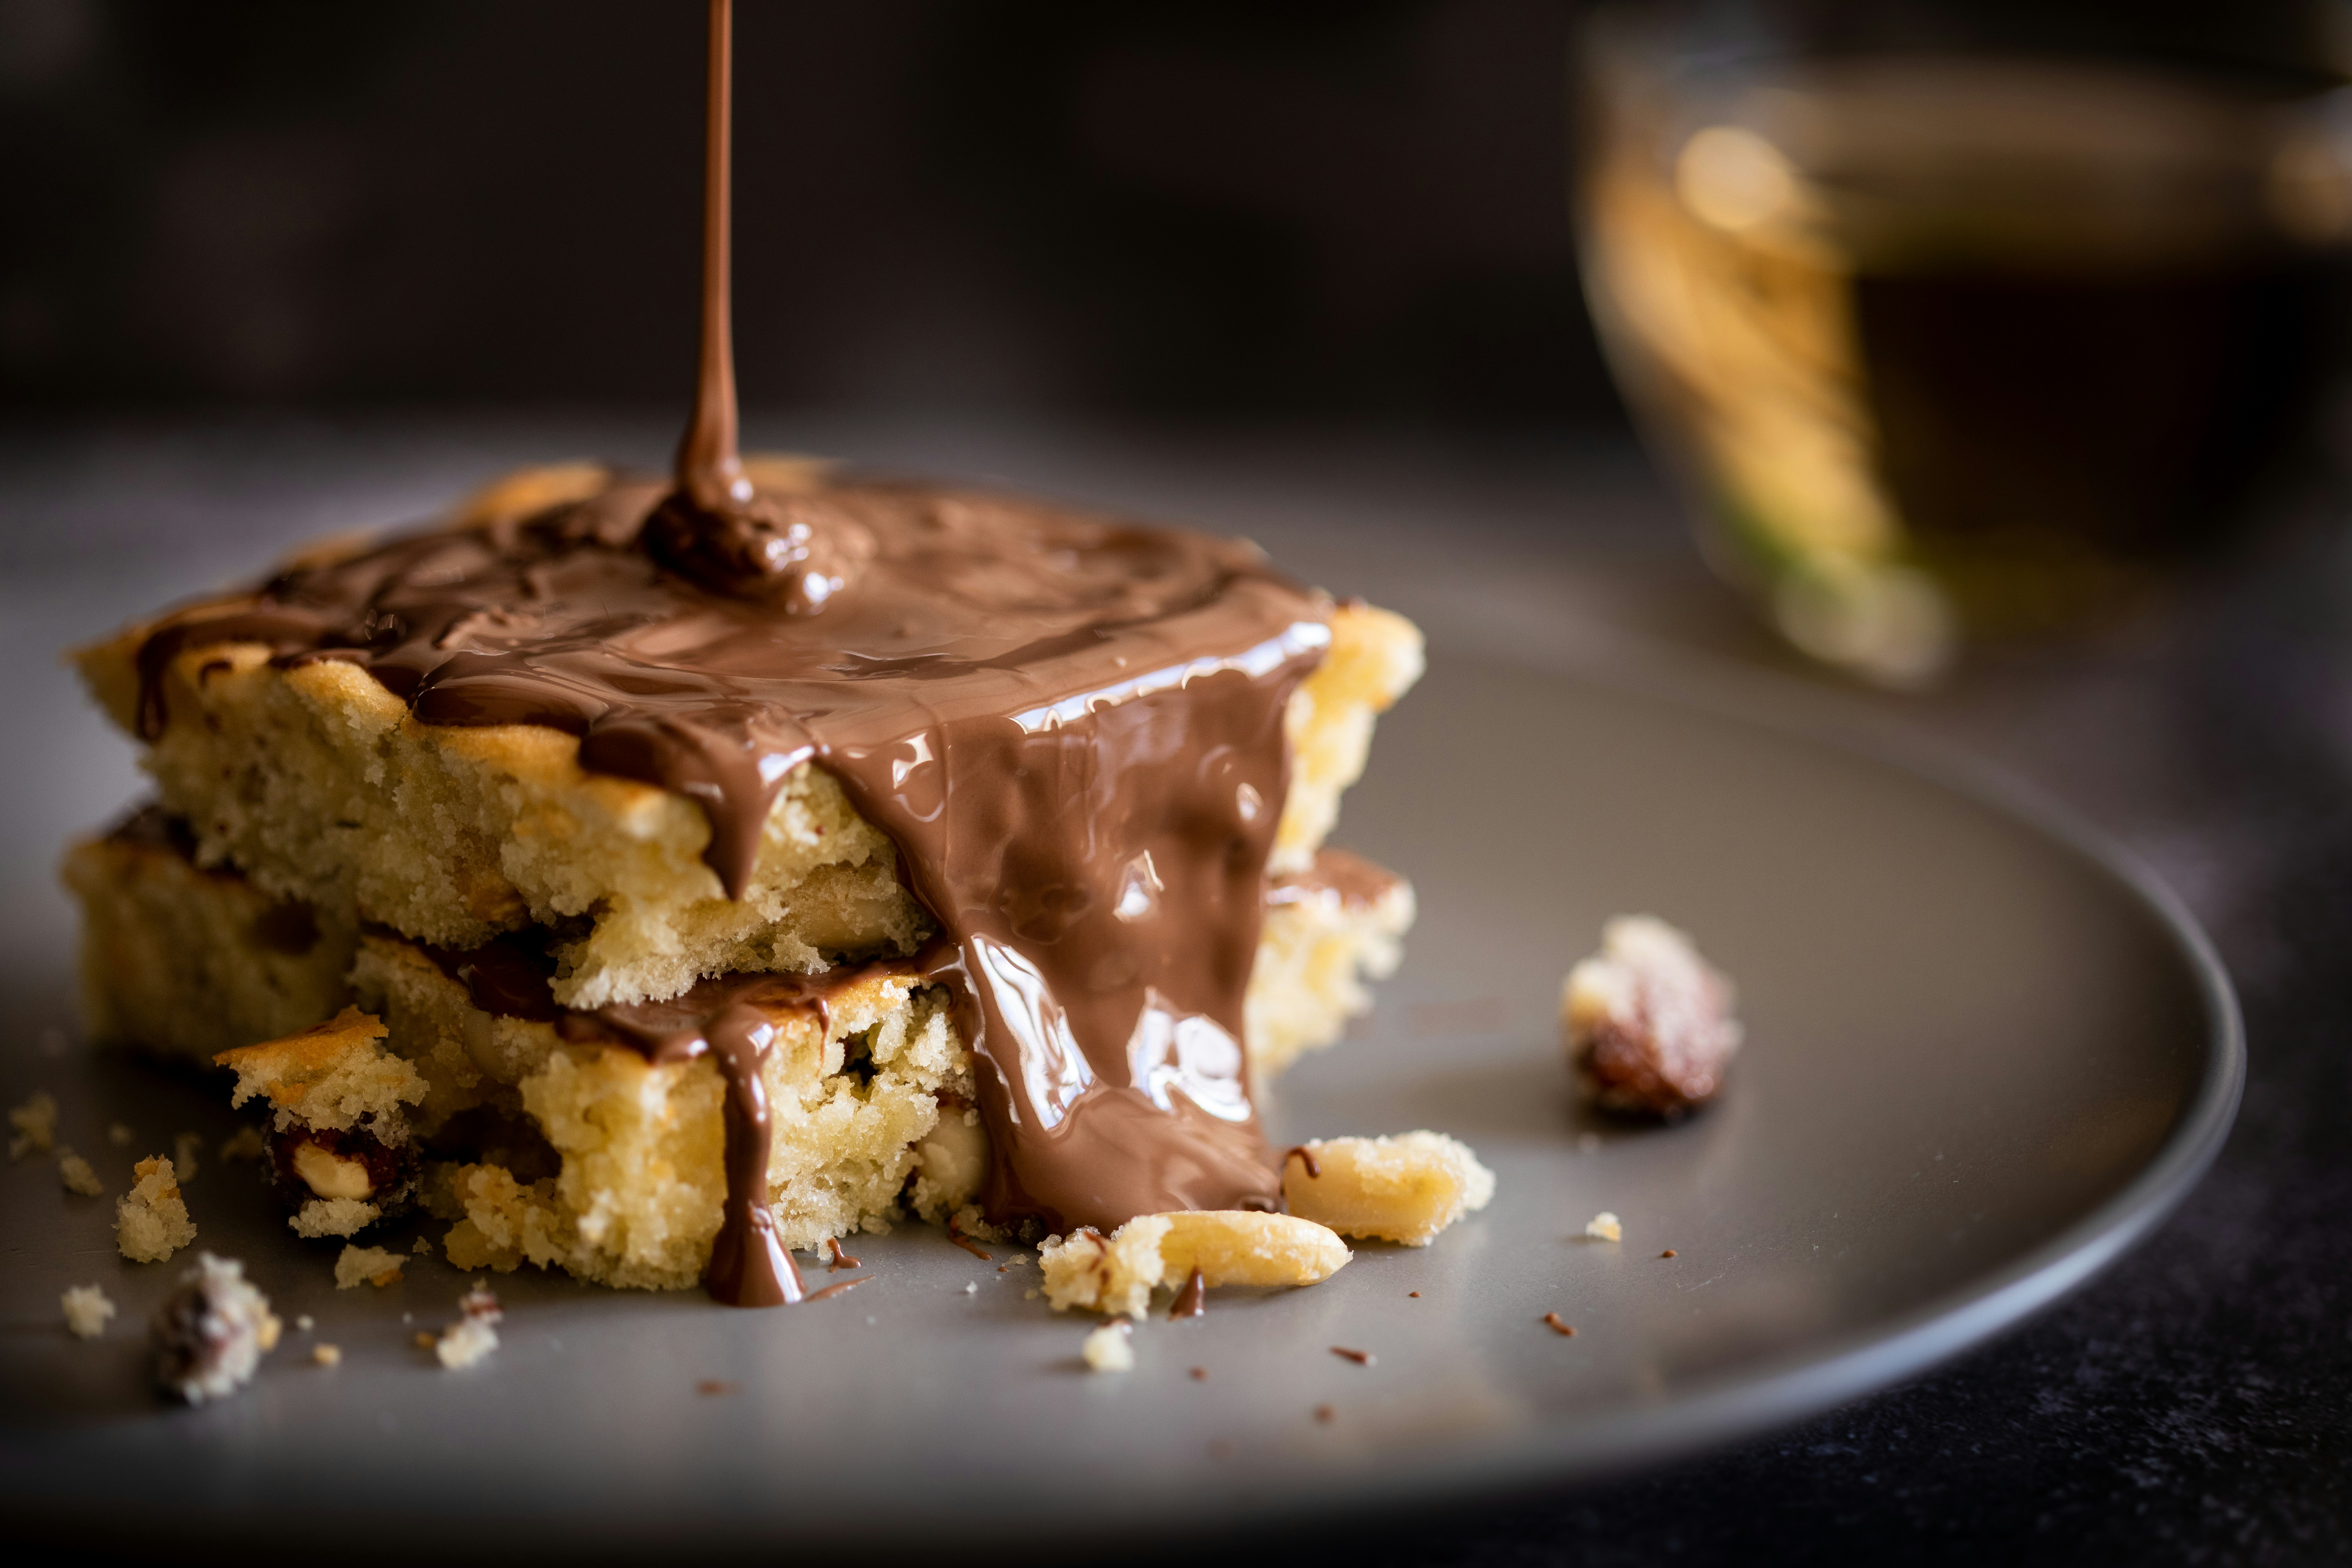
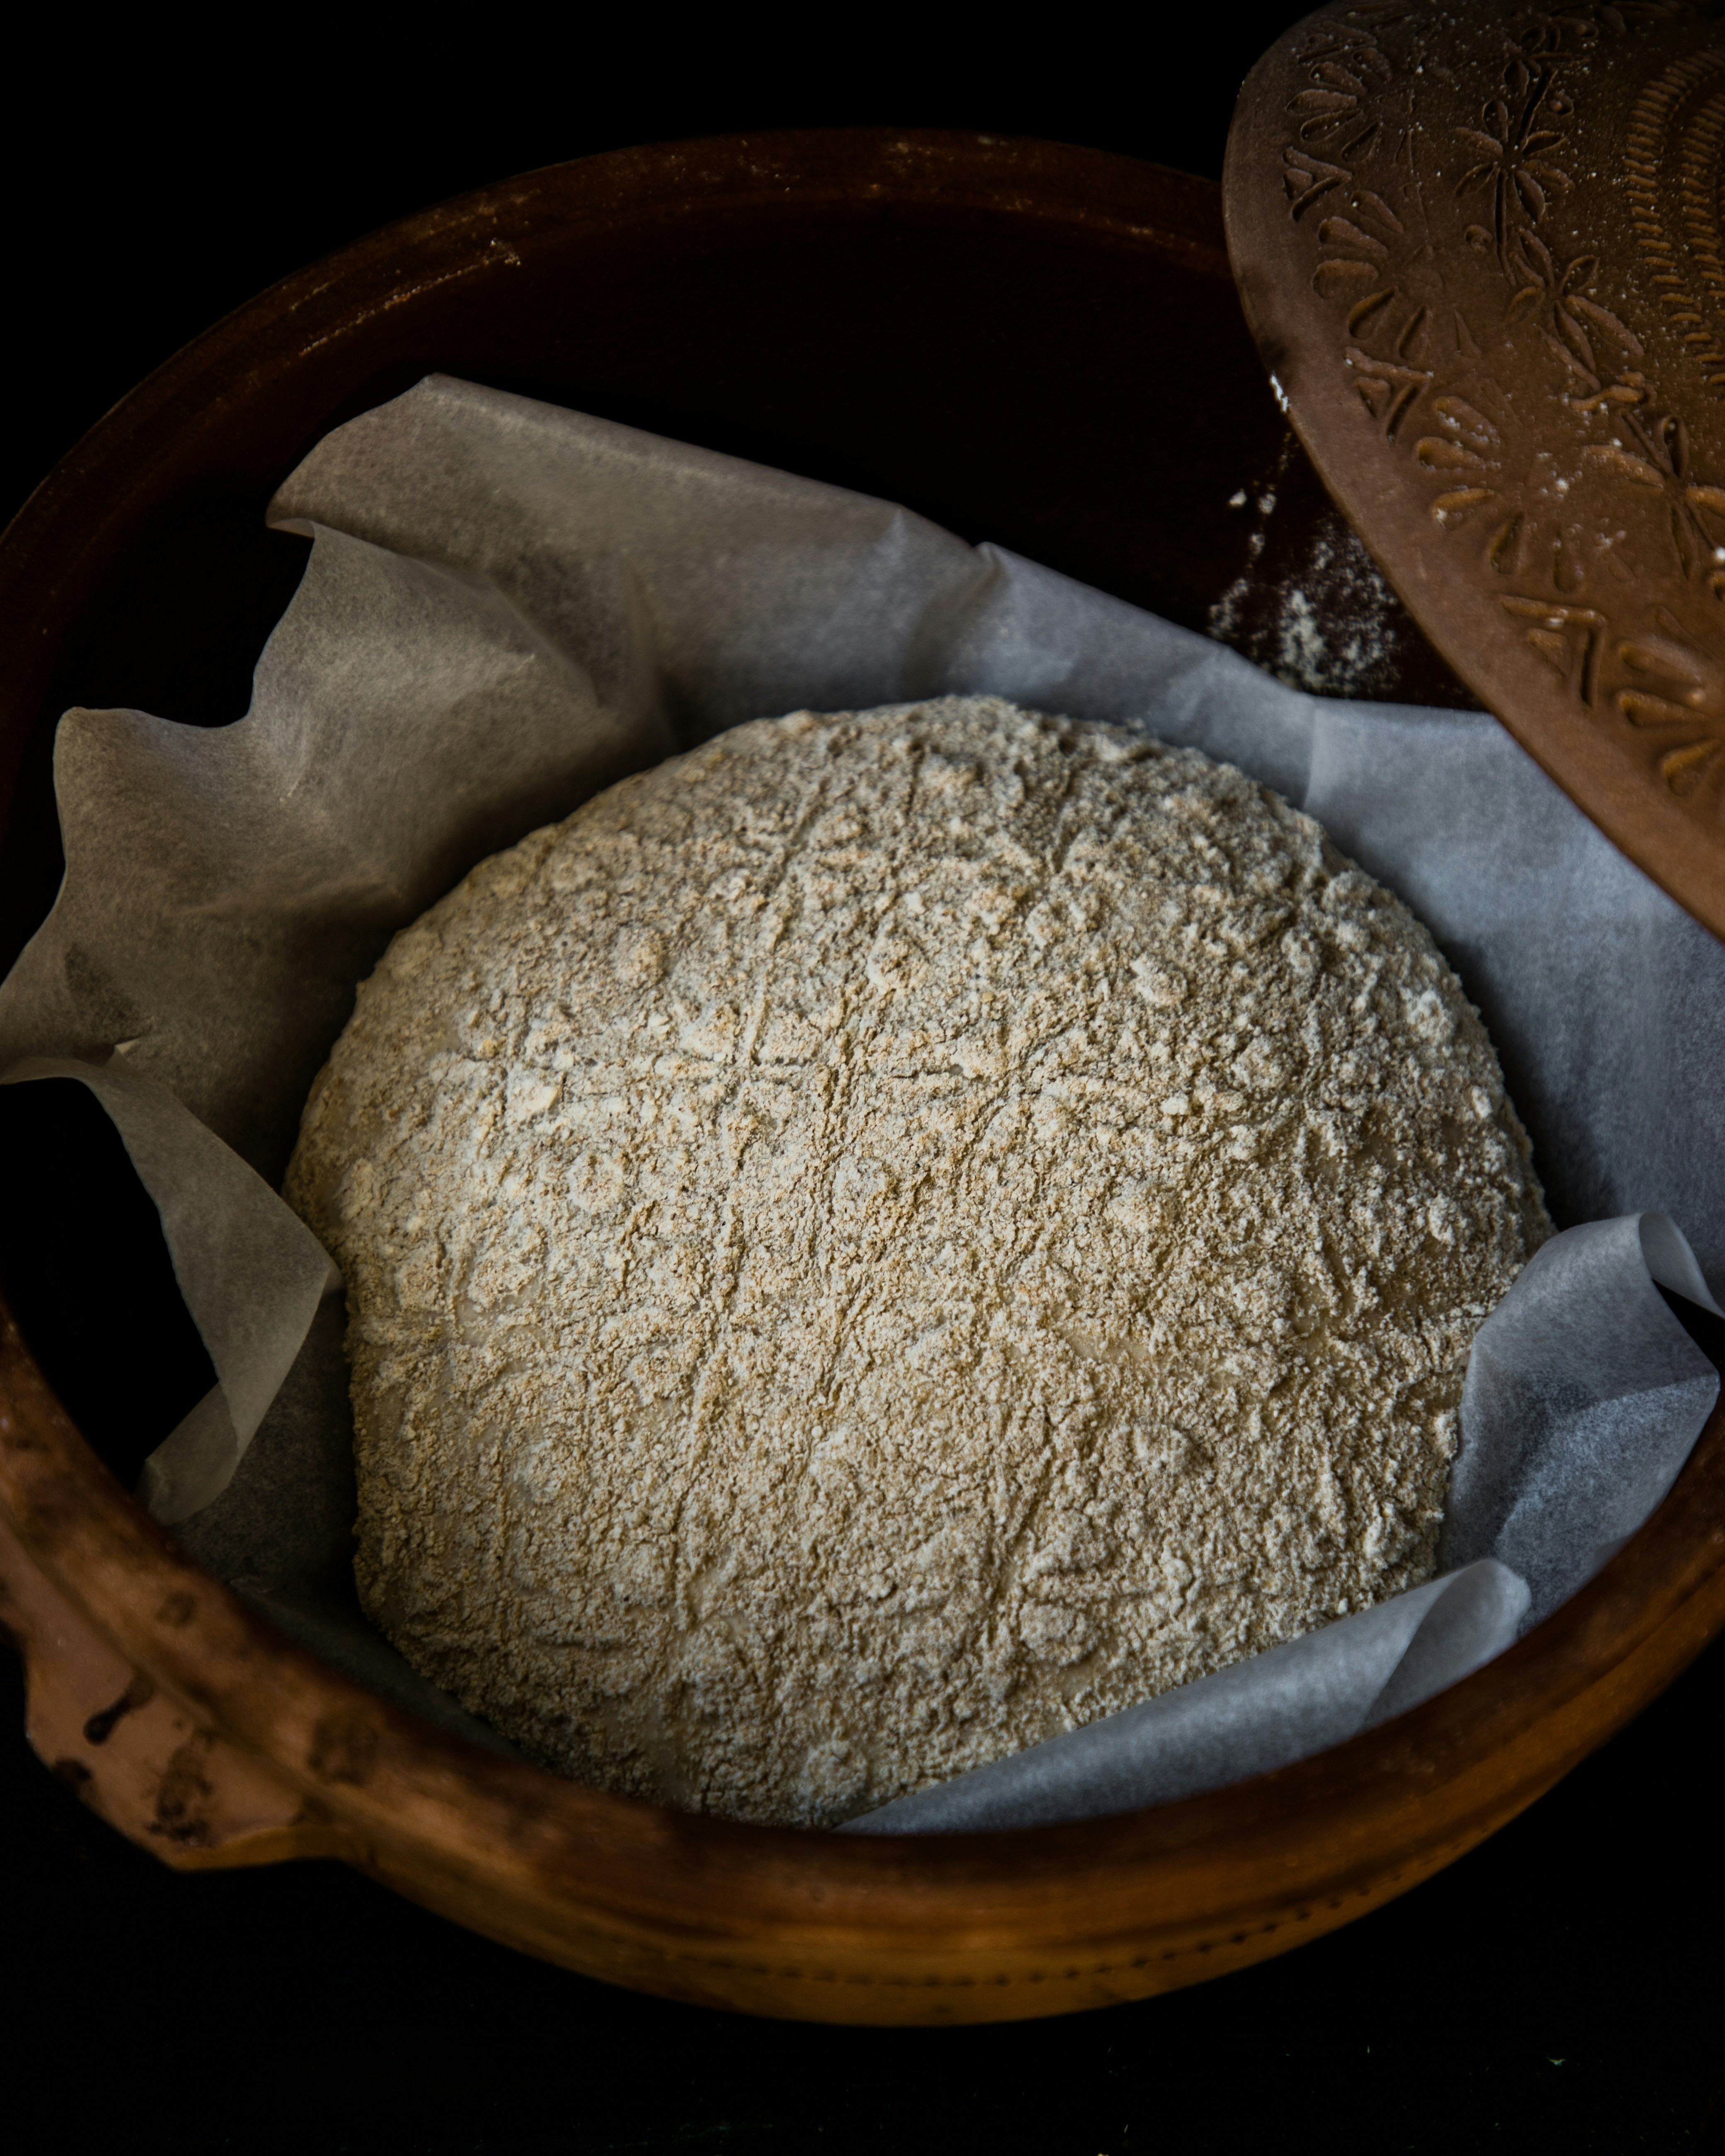
To make gluten-free sourdough bread, start by mixing your measured starter with the specified amount of gluten-free flour and liquid. Stir together until the mixture is well combined, and then let it rest for several hours or overnight to allow for fermentation. This process not only enhances the flavor of the bread but also contributes to its rise, creating light and airy loaves. When it comes to pancakes or other brunch items, the starter can also be seamlessly integrated. Simply substitute half the flour in your pancake recipe with an equal amount of starter. This addition leads to a delightful tangy flavor while also improving the overall texture of the pancakes.
For other baked goods, such as muffins or cakes, adjustments may need to be made to accommodate the gluten-free nature of the recipe. Utilize gluten-free flour blends that may include xanthan gum to mimic the binding properties of gluten. The incorporation of your gluten-free sourdough starter should enhance the richness and complexity of the flavor, resulting in a satisfying finished product. Remember to monitor the moisture level in your batter, as gluten-free recipes often require slight adjustments for optimal results.
Maintenance and Storage of Your Starter
Once you have successfully created your gluten-free sourdough starter, ongoing maintenance is essential for its longevity and health. Proper care will ensure that your starter remains active, allowing you to bake delicious gluten-free bread and other goods whenever you choose. The first consideration in the maintenance of your starter is its storage. You have the option to keep your starter at room temperature or in the refrigerator, depending on your baking frequency.
If you plan to use your starter frequently, storing it at room temperature is advisable. In such cases, the starter should be fed once every 12 to 24 hours with gluten-free flour and water. This regular feeding schedule encourages the wild yeast and bacteria to thrive and remain active. Make sure to monitor the starter closely, as it should double in size within a few hours of feeding. Conversely, if you do not plan to bake regularly, refrigeration is a more suitable option. A refrigerated gluten-free sourdough starter can go longer between feedings, typically requiring a feed every 1 to 2 weeks.
When reviving a refrigerated starter, it is recommended to plan for at least 24 hours of activation time. Begin by removing the starter from the fridge, discarding a portion of it (usually half), and feeding it with fresh gluten-free flour and water. Allow the mixture to sit at room temperature until it becomes bubbly and active again, which usually takes about 4 to 6 hours. After its revival, you can either use it immediately for baking or return it to the refrigerator for longer storage.
Moreover, regularly observing the appearance and smell of your gluten-free sourdough starter is crucial. A healthy starter should have a pleasant, slightly tangy aroma and should be free from any signs of mold or an off-putting smell. Consistent and attentive maintenance will help you enjoy a thriving starter for years to come.
Frequently Asked Questions
Q: How long can a gluten-free sourdough starter last?
At room temperature, it will stay active for a few days if you feed it daily. In the fridge, it can last up to two weeks without feeding. For long-term storage, you can dry or freeze your starter—just be sure to reactivate it properly before baking again.
Q: How often should I feed my gluten-free sourdough starter?
If kept at room temperature, feed once every 24 hours. If stored in the fridge, feed once every 1–2 weeks. When you’re ready to bake, bring it out and feed daily for 2–3 days until bubbly and active.
Q: What’s the main difference between gluten-free and wheat-based starters?
The flour. Gluten-free starters use flours like rice, sorghum, buckwheat, or almond instead of wheat. These absorb water differently, so you’ll need to tweak hydration levels and feeding schedules. The dough also tends to be denser and less stretchy since there’s no gluten.
Q: Why does my starter look watery or separated?
That liquid is called “hooch” and it’s a sign your starter is hungry. Just stir it back in and feed the starter again.
Q: My starter smells sour or funky. Is that normal?
A tangy, sour smell is good and shows fermentation is happening. If it smells rotten, moldy, or chemical-like, it’s time to toss it and start fresh.
Q: Which gluten-free flours work best for starters?
Some top choices include:
- Brown rice flour – mild flavor, reliable fermentation.
- Buckwheat flour – strong, earthy, very active.
- Sorghum flour – neutral taste, balances well with others.
- Almond flour – rich but heavy, best in blends.
- Tapioca flour – adds chewiness, best in blends.
Q: Can I mix different flours in one starter?
Yes. Blending flours often creates better flavor and texture. For example, brown rice + sorghum + tapioca makes a balanced, active starter.
Q: Can I reactivate a dried or frozen gluten-free starter?
Absolutely. Rehydrate or thaw the starter, then feed it daily with your flour of choice until it’s bubbly again (usually 3–5 days).
Q: Why is my gluten-free dough dense compared to wheat dough?
Gluten provides elasticity in wheat dough. Without it, gluten-free doughs are naturally denser. Try using flour blends and binders like psyllium husk or xanthan gum for better structure.
Q: Can I bake right after pulling my starter from the fridge?
Not yet. It needs at least 1–2 feeds at room temperature to wake up and become strong enough to leaven bread.
Quick Tips Cheat Sheet
Feeding:
- Room temp: Feed daily.
- Fridge: Feed every 1–2 weeks
Storage:
- Room temp: A few days.
- Fridge: Up to 2 weeks.
- Long-term: Dry or freeze.
Signs It’s Hungry:
- Liquid on top (hooch).
- Fewer bubbles.
- Stronger sour smell.
Flour Guide:
- Brown rice = reliable.
- Buckwheat = strong, earthy.
- Sorghum = neutral, balanced.
- Almond = rich, heavy (blend).
- Tapioca = chewy, best in blends.
Troubleshooting:
- Sour smell = fine.
- Rotten/chemical smell = toss it.
- Dense dough = use blends or add psyllium husk/xanthan gum.
Before Baking:
- Always give at least 1-2 feeds after fridge storage.
Conclusion and Final Thoughts
Creating a gluten-free sourdough starter from scratch is an engaging and rewarding endeavor that paves the way for delicious and healthier baking alternatives. Throughout this guide, we’ve covered the essential steps for nurturing a gluten-free sourdough starter, emphasizing the importance of using high-quality gluten-free flours, maintaining the right hydration levels, and monitoring the fermentation process closely. By doing so, one can achieve a robust, active starter that serves as the foundation for various gluten-free bread and pastries.
The benefits of crafting your gluten-free sourdough starter are manifold. Aside from the satisfaction of producing something entirely from scratch, this practice promotes a deeper understanding of fermentation and its role in baking. Moreover, it opens the door to enhanced flavors and textures that often elude commercially available gluten-free products. By embracing this process, bakers can customize their recipes to suit personal tastes and dietary needs, resulting in baked goods that are both enjoyable and wholesome.
As you embark on your gluten-free baking journey, don’t hesitate to experiment with different flours and hydration techniques. The world of gluten-free baking is broad and offers a plethora of options to explore, allowing you to develop your unique sourdough creations over time. Additionally, engaging with online communities or local baking groups can provide invaluable support and inspiration. Sharing experiences, challenges, and triumphs can enrich your baking practice and foster connections with fellow enthusiasts.
To further enhance your skills, we encourage you to explore additional resources on gluten-free baking. There are many informative books, blogs, and videos dedicated to this topic that can provide tips, recipes, and troubleshooting advice. With patience and creativity, your gluten-free sourdough starter can become a staple in your kitchen, transforming the way you enjoy baked goods.